Feel the power of n8n and YepCode combined and build amazing workflows

n8n is a powerful no-code workflow automation tool, but complex workflows can become difficult to maintain. YepCode complements n8n perfectly by adding full-code capabilities for complex tasks, data processing, and custom logic.
The combination gives you the best of both worlds: n8n’s visual workflow builder with YepCode’s coding power, process versioning, audit events, datastore and much more.
In short: n8n handles the visual workflow orchestration while YepCode executes the complex code logic—creating a powerful automation duo.
To get started, you’ll need:
- An n8n Cloud account or self-hosted installation
- A YepCode account
Adding a YepCode node to your workflow
YepCode is available as a native integration in n8n Cloud! We have been early adopters of the community nodes publication feature, and we are excited to see it being used by many users.
Previously, tapping into these user-created modules required self-hosting—a hurdle for many without the resources or know-how to manage their own servers. Now, with community nodes integrated directly into n8n Cloud, the barriers to advanced automation are falling away, making it easier than ever to streamline workflows and unlock new possibilities.
Here’s how to add it to your workflow:
- Open your n8n Cloud workspace
- Create a new workflow or edit an existing one
- Click the + button to add a new node
- Search for “YepCode” in the node search
- Select the YepCode node
- Click
Install Node
Configuring your YepCode node
The YepCode node offers two powerful operations:
1. Run Code Operation
The Run Code operation allows you to execute custom JavaScript or Python code directly from your n8n workflow. This is perfect for:
- Quick data transformations and calculations
- API calls to services without native n8n nodes
- Complex logic that would require multiple n8n nodes
- File processing and data manipulation
- AI-generated code execution
2. Run Process Operation
The Run Process operation executes existing YepCode processes. This is ideal for:
- Reusable business logic across multiple workflows
- Version-controlled processes with proper tagging
- Team collaboration on complex automation logic
- Long-running tasks that need monitoring and audit trails
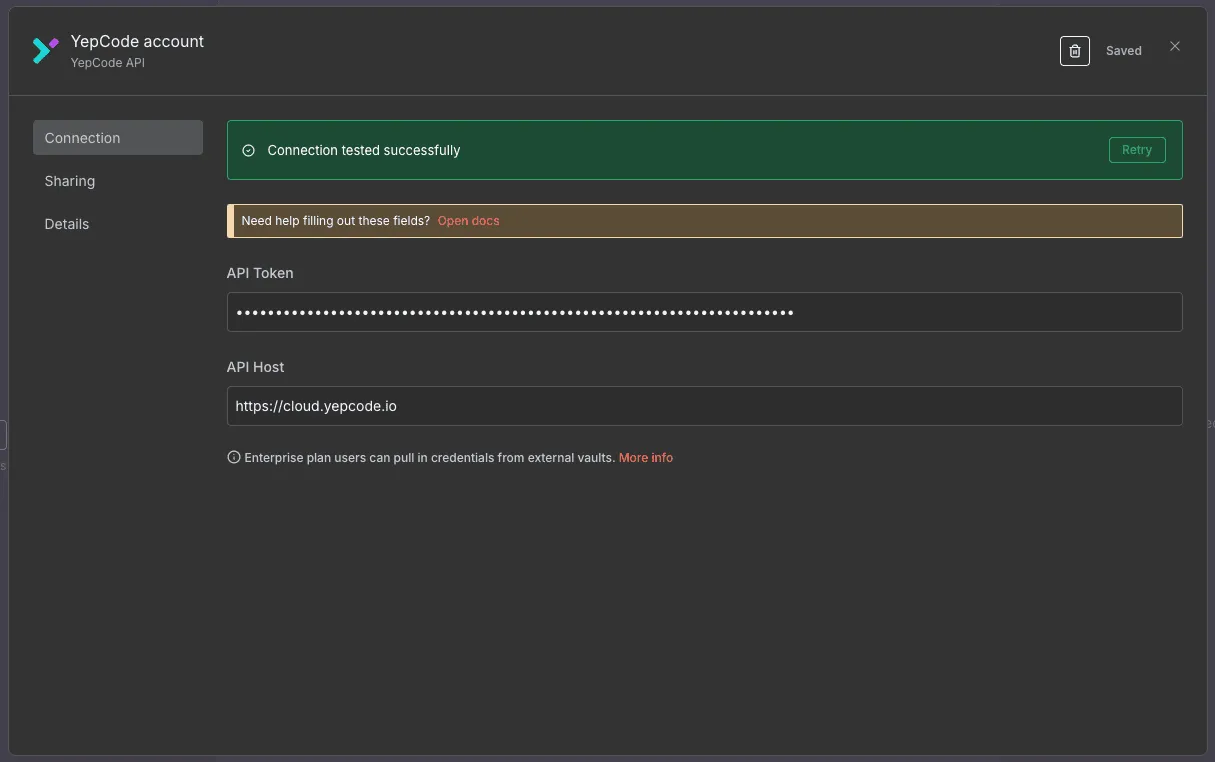
Setting up YepCode credentials
To connect n8n with YepCode, you’ll need to create API credentials:
- In your YepCode account, go to Settings > API Keys
- Create a new API key
- In n8n, when configuring the YepCode node, click “Create New” under credentials
- Enter your YepCode API key
- Test the connection to ensure everything works
Example: Using Run Code
The Run Code operation can execute any JavaScript or Python code with any package. YepCode automatically installs dependencies as needed. Here’s an example that processes input parameters from previous n8n nodes:
// Import any npm package - YepCode will install it automaticallyconst { DateTime } = require("luxon");
// Access input parameters from previous n8n nodesconst { n8n } = yepcode.context.parameters;
const results = [];for (const item of n8n.items) {  results.push({    ...item.json,    processedAt: DateTime.now().toISO(),  });}
// Access n8n metadata - check all available fields at: https://docs.n8n.io/code/builtin/n8n-metadata/console.log("Environment:", n8n.metadata);console.log("Resume URL:", n8n.metadata["$execution"].resumeUrl);
return results;
The screenshot below shows the n8n node configuration where you can write your custom code:

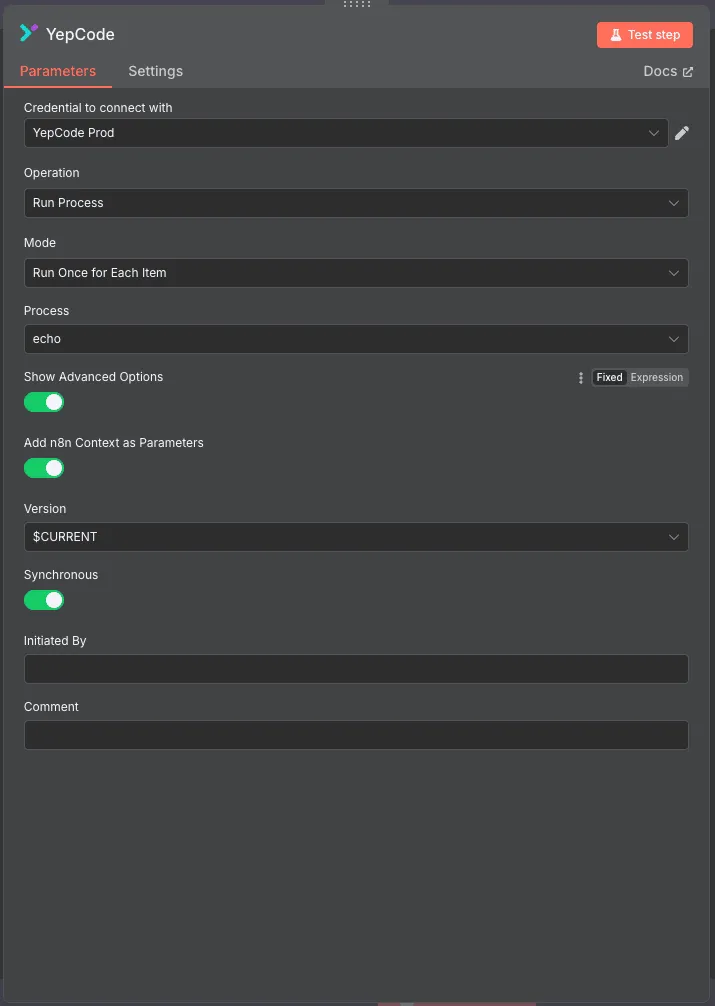
Example: Using Run Process for complex workflows
For more complex scenarios, you can use the Run Process operation to execute existing YepCode processes. This is ideal for reusable business logic that you want to version control and maintain separately:
- Create a process in YepCode with your business logic
- In n8n, use the Run Process operation
- Select your process and pass the required data
- Handle the response in subsequent n8n nodes
This approach gives you the benefits of YepCode’s process management features like versioning, audit trails, and team collaboration while keeping your n8n workflows clean and focused on orchestration.
The screenshot below shows the n8n node configuration where you can select your YepCode process and configure the execution:
Best practices
- Use Run Code for quick, one-off transformations and simple logic
- Use Run Process for reusable, complex business logic that needs versioning
- Use synchronous execution when you need the result immediately
- Use asynchronous execution for long-running tasks that don’t block your workflow
- Test your code in YepCode’s development environment before using it in n8n
That’s it! You’re now ready to combine the visual workflow power of n8n with the coding flexibility of YepCode. Whether you’re using the new Run Code operation for quick transformations or the Run Process operation for complex business logic, you have the tools to build amazing workflows.
Thank you for reading! Happy coding! 🚀